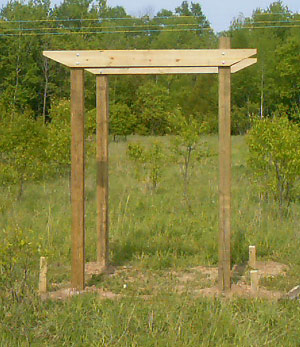
The basic structure is made of 12' 6 x 6's and
stands about 9' above ground.
Notice the 4 landscape timbers that are set 1' outside of the 6 x 6 structure.
These are used to support the walls and provide a slope to the project.
You'll end up cutting off those fancy edges,
so don't waste your time like I did.
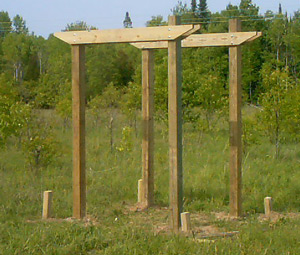
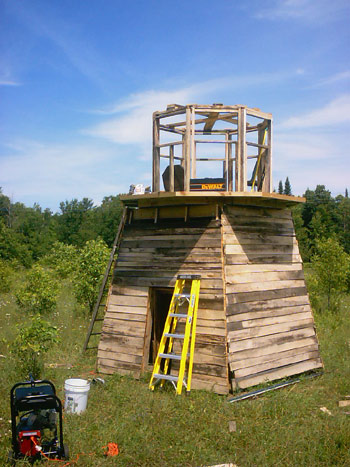
The basic structure, ready for a whole lot of
work.
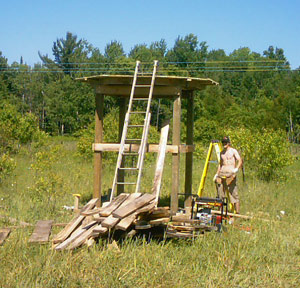
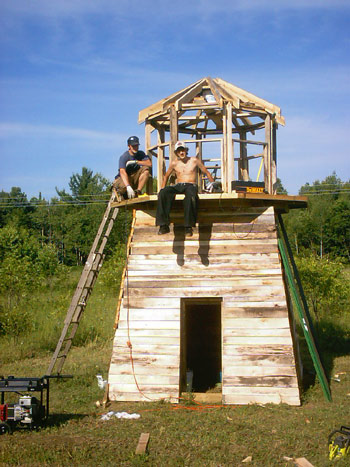
Trevor shows off his washboard abs
Don't ya just hate that?
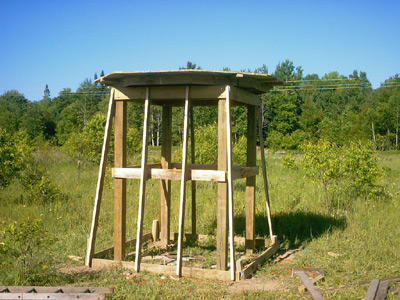
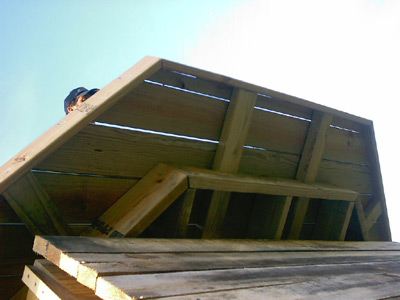
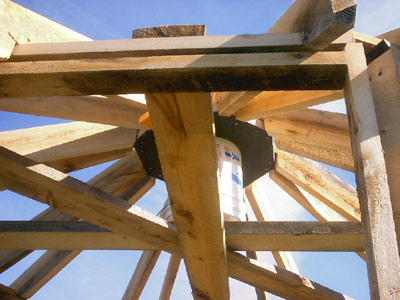
The braces for the side walls are "birdmouthed"
onto the upper and lower supports.
Pay attention to the treated 2 x 6's that are attached to the landscape
timbers.
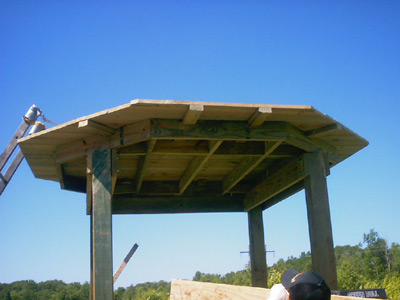
A 10' x 10' deck sits on top of the 8' platform.
An underside view of the deck portion that extends
past the main structure.
Notice the fascia that was added to the decking to give it that finished
look and help line up the edges.
Notice the braces that give support to the decking
that extends past the 6' x 6' main structure. You will need these later
as the walkway around the upper portion of the blind is critical for building
the roof.
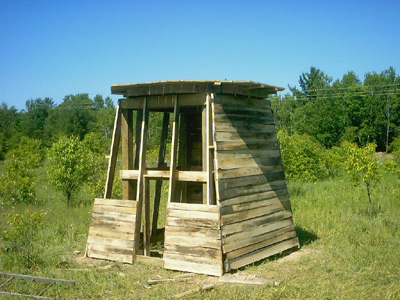
Side walls and doorway being erected.
The side walls are nearly complete.
These will be covered with vinyl siding when finished.
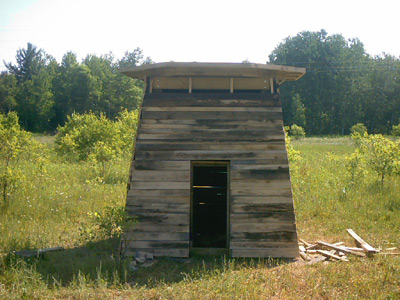
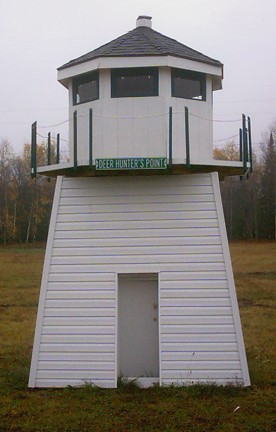
The viewing area is roughed in
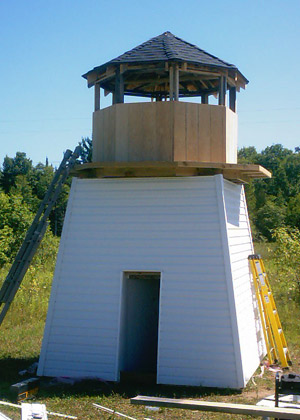
Notice the top portion of the lighthouse. We
originally built it like our other blinds at 6' tall, but it was not proportioned
well, so we scaled it down to just over 4'.
With the additional headroom from the vaulted ceiling, there's just enough
room to stand up and bang your head into the ceiling braces.
Trevor is on the left, Kevin on the right.
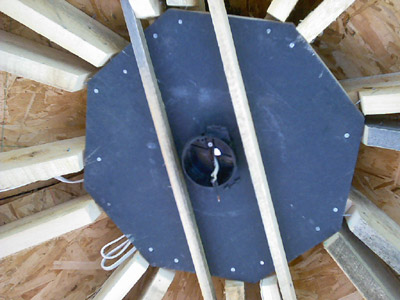
Support used to build the roof.
This was removed after the roof was complete and the siding was installed
on the viewing area.
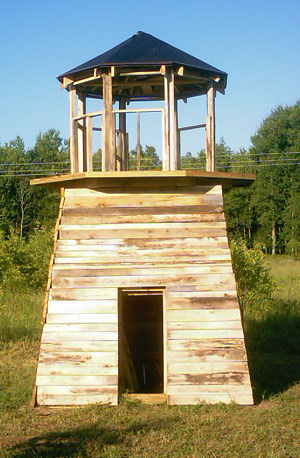
The roof, after 1/2" OSB, 15 lb. felt and
drip edge, is ready for shingles.
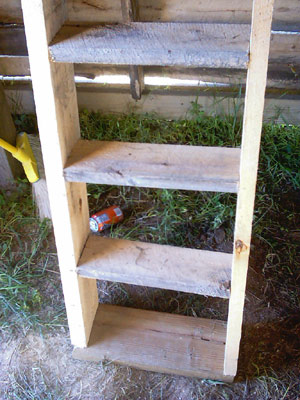
Stairway leading to viewing area
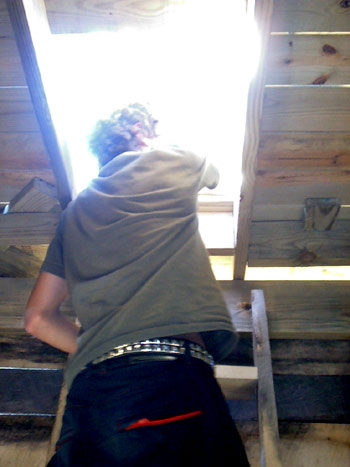
Some gumby with really curly hair, entering into
the viewing area (sorry Kevin)
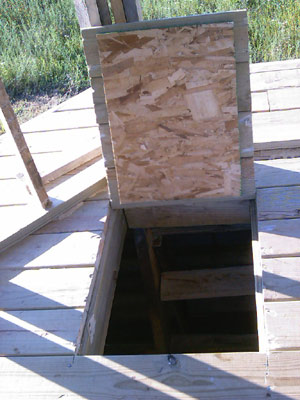
Hatch into the viewing area
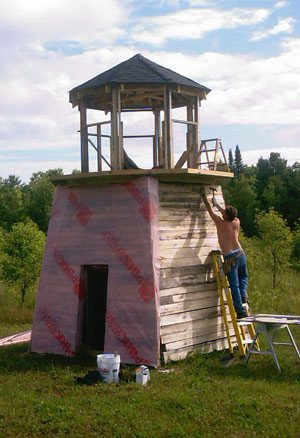
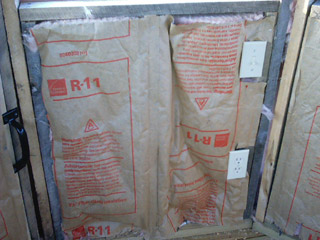
Sam Milana putting up the insulation wrap on
the lower level
Sam tacks down some of the siding before applying
the insulative wrap
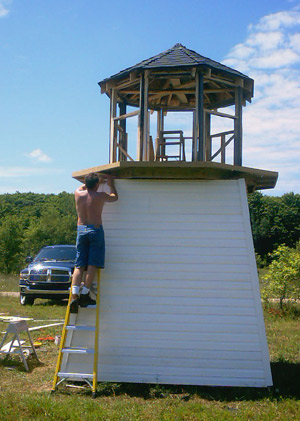
The first side of the lower level get completed
with the vinyl siding.
Notice the nice new Ram Hemi of Sam's in the background.
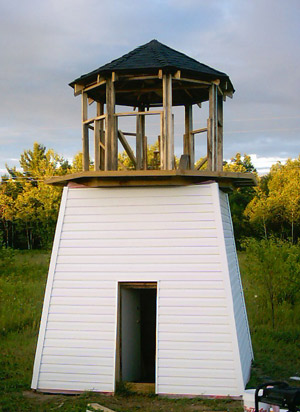
The front of the blind get it's siding!
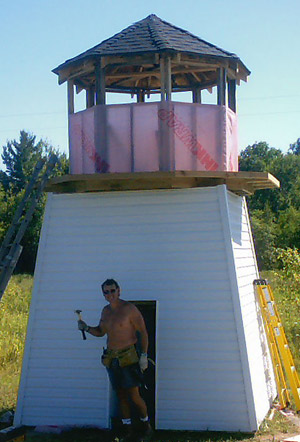
The upper part, wrapped and ready for siding.
Thanks to Tom Church for donating the wrap!
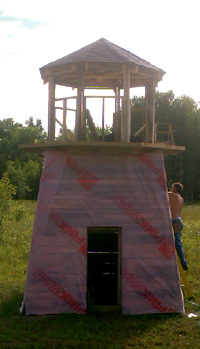
T-111 siding on the observation area
Ready for a coat of paint and some window trim.
Notice where the roof truss meets the trim that
goes around each window.
If you mark an equal distance from the ends, then your trim will be of
uniform width (unlike the foresight lacking job done here).
The first coat of paint goes on the observation
tower
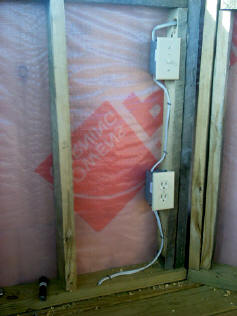
Wired out for 12v
12v light will go overhead
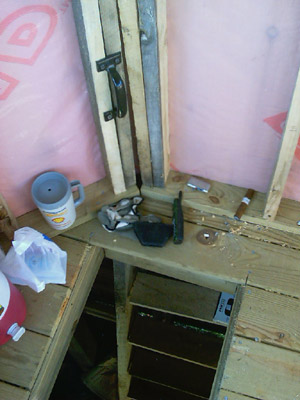
A well placed handle will assist in getting into
the upper area.
Of course you'll want some insulation.
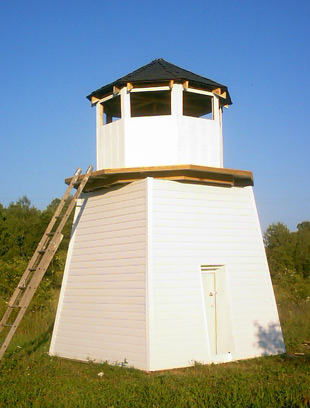
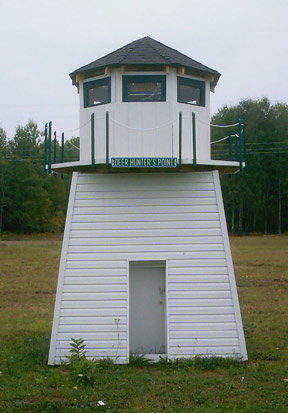
Nearing completion, the outside railings and
windows are installed.
A little food plot gets planted at the edge of
the woods (good place for a tree stand).
A nicely mowed field will help attract deer.
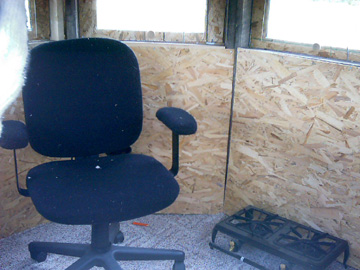
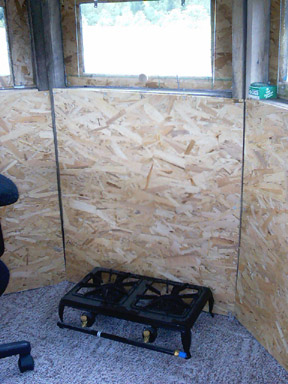
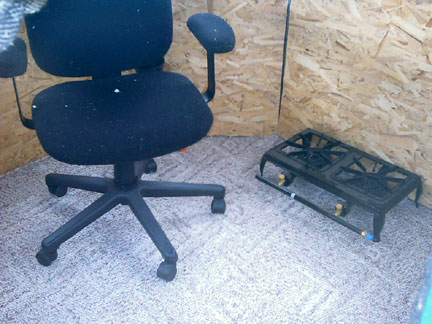
Some interior creature comforts and aesthetics
get added
We're just waiting for Sam Milana to arrive with
the regulator and hose for the stove.
Oh by the way, thanks for the stove Sam.
Thanks to Bill Babbitt for the contribution of
the fine Berber carpeting.
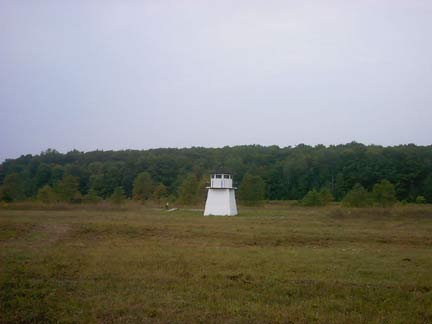
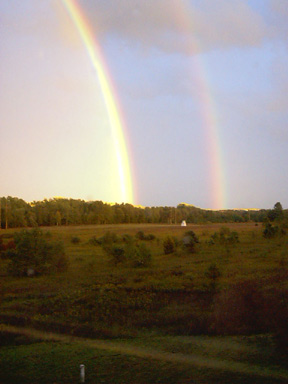
There must be a "Pot o Gold" under
that lighthouse somewhere.